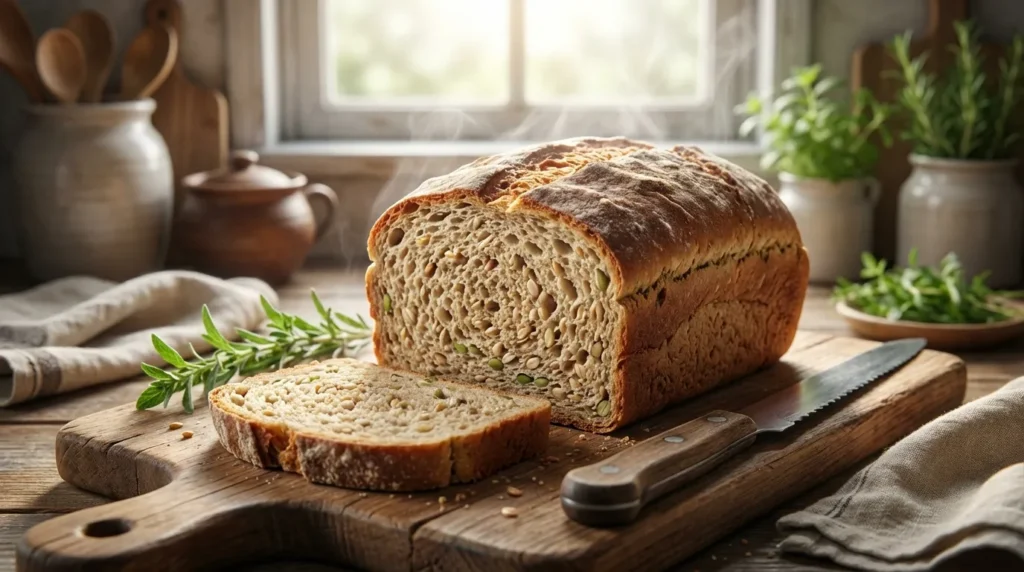
The Ultimate Ezekiel Bread Recipe in 5 Easy Steps
Equipment
- Stand Mixer
- 9×5 inch Loaf Pan
- Kitchen Scale
- Thermometer
Ingredients
Yeast Activation
- 1.25 cup warm water 110°F
- 2 tbsp honey or molasses
- 2.25 tsp active dry yeast 1 packet
Dry Ingredients
- 2.5 cup sprouted wheat flour
- 0.5 cup sprouted spelt flour
- 0.25 cup barley flour
- 0.25 cup millet flour
- 0.25 cup lentil flour or soybean flour
- 2 tbsp vital wheat gluten Essential for structure
- 1.5 tsp salt
Fat
- 2 tbsp olive oil or melted coconut oil
Instructions
- Activate the Yeast: In the bowl of your stand mixer, combine the warm water (110°F) and honey. Whisk until dissolved. Sprinkle the yeast over the top and let sit for 5-10 minutes until a thick, creamy foam appears.
- Mix Dry Ingredients: While yeast blooms, whisk together sprouted wheat, spelt, barley, millet, and legume flours, plus the vital wheat gluten and salt in a separate bowl to distribute the gluten evenly.
- The Knead: Add the oil to the yeast mixture. Set mixer to low with dough hook. Gradually add dry flour mixture. Once incorporated, increase speed to medium-low and knead for 8–10 minutes. Dough should be tacky but pull away from sides.
- First Rise: Shape dough into a ball and place in a greased bowl, turning once to coat. Cover with a damp towel. Let rise in a warm spot for 60–90 minutes, or until doubled in size.
- Shape and Bake: Punch dough down gently. Shape into a loaf and place into a greased 9×5 inch loaf pan. Cover and let rise again for 30–45 minutes (until it crowns 1 inch over rim). Preheat oven to 350°F (175°C). Bake for 35–40 minutes until hollow sounding or 190°F internal temp.
- Cool: Remove from pan and cool completely on a wire rack for at least 2 hours before slicing to prevent gumminess.
Notes
Best served: Toasted straight from the freezer.
Flour Note: If you cannot find individual flours, look for a ‘Sprouted 7-Grain Flour’ blend.
There is nothing quite like the smell of yeast blooming in a warm kitchen, especially when it promises a loaf that is as nutritious as it is delicious. If you have ever bought those frozen orange-wrapper loaves from the grocery store, you know they can be expensive and sometimes a bit dry.That is exactly why I developed this homemade ezekiel bread recipe. It captures that signature earthy, nutty flavor and dense, chewy texture, but with a freshness that packaged bread just can’t compete with.
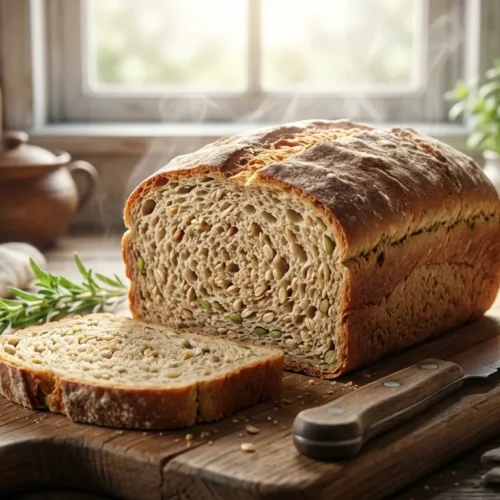
I remember the first time I tried to make this. I was trying to clean up my diet and wanted a bread that wasn’t just “empty carbs.” My first attempt was a total brick—I could have used it as a doorstop. After months of testing ratios of sprouted flours and vital wheat gluten, I finally cracked the code. This version is tender enough for sandwiches but sturdy enough for the toaster. It is hands down the best thing I’ve eaten for breakfast this month, especially slathered with almond butter.
In this guide, I will walk you through exactly how to make ezekiel bread that rises beautifully and tastes incredible.
Why You’ll Love This Ezekiel Bread Recipe
If you are intimidated by baking with sprouted grains, don’t be. This recipe bridges the gap between artisan baking and home-kitchen convenience. Here is why this is the only recipe for ezekiel bread you will ever need:
- Complete Protein Source: Unlike standard white bread, the combination of grains and legumes creates a complete protein profile, containing all nine essential amino acids.
- No “Brick” Texture: Many sprouted bread recipes result in a dense, heavy loaf. I use a specific hydration ratio and a touch of vital wheat gluten to ensure the crumb remains soft and pliable.
- Budget-Friendly: Buying sprouted flour or grains in bulk is significantly cheaper per loaf than paying $7.00+ at the supermarket for a frozen loaf.
- Digestibility: The sprouting process breaks down enzyme inhibitors, making this bread much easier on the stomach for many people compared to traditional whole wheat.
Ingredients & Substitutions
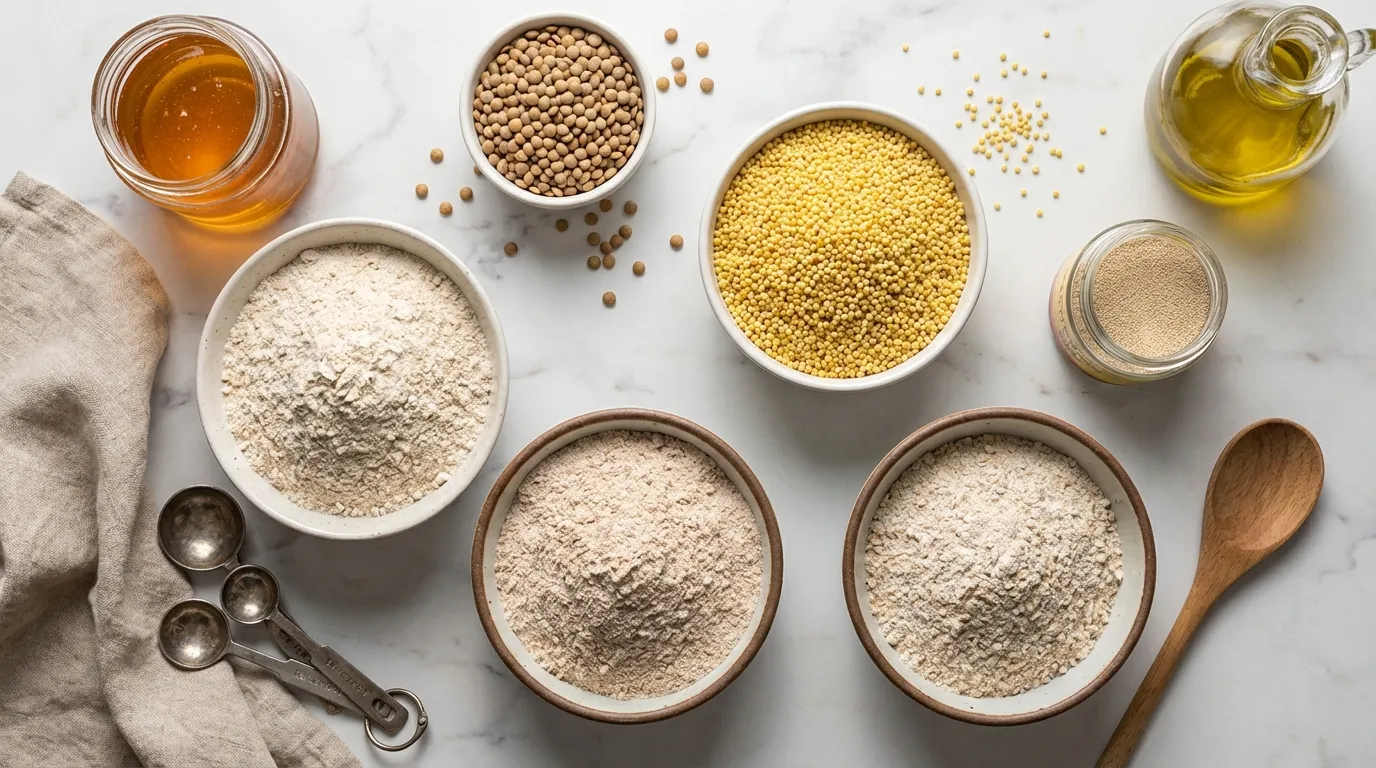
To nail this ezekiel bread recipe, accuracy with ingredients is key. We are mimicking a biblical recipe (Ezekiel 4:9), so the specific blend of grains and beans matters for both flavor and nutrition.
The Flour Blend
You have two options here: buy a pre-made sprouted flour blend or mix your own. For this recipe, I use a blend of sprouted wheat, barley, spelt, millet, lentils, and soybeans.
- Sprouted Wheat Flour: This is your base. It provides the bulk of the structure.
- Sprouted Spelt & Barley Flour: These add a sweet, nutty undertone.
- Millet & Legume Flours (Lentil/Soy/Bean): These are essential for the “Ezekiel” profile. If you cannot find sprouted lentil flour, you can grind dry red lentils into a fine powder using a high-speed blender, though sprouted is best for digestion.
The Essentials
Vital Wheat Gluten: Chef’s Note:* Do not skip this! Sprouted flours have less gluten structure than regular flour. Adding this ensures your bread rises and doesn’t crumble when you slice it.
- Warm Water (110°F): If the water is too hot, you kill the yeast; too cold, and it won’t wake up. Use a thermometer.
- Honey or Molasses: The yeast needs sugar to feed on, and honey adds a lovely floral sweetness that balances the bitterness of the grains. Molasses yields a darker, richer loaf.
- Active Dry Yeast: I prefer active dry over instant because I like to see it foam up (bloom) to ensure it’s alive before wasting my expensive flours.
- Oil: Olive oil or melted coconut oil keeps the crumb soft.
- Salt: Essential for flavor and controlling the yeast activity.
Dietary Swaps:
- Vegan: Use agave or maple syrup instead of honey.
- Soy-Free: If you are avoiding soy, you can swap the soybean flour for sprouted kidney bean flour or just increase the lentil flour, though the amino acid profile will shift slightly.
How to Make Ezekiel Bread Recipe (Step-by-Step)
Making this bread is a labor of love, but the process is straightforward. We are essentially making a standard yeasted dough, just with much thirstier flours.
Phase 1: Activate the Yeast
In the bowl of your stand mixer, combine the warm water and honey. Whisk it until the honey dissolves. Sprinkle the yeast over the top and let it sit for about 5 to 10 minutes.
Chef’s Tip:* You want to see a thick, creamy foam on top. If it looks like flat, dirty water after 10 minutes, your yeast is dead. Throw it out and start over.
Phase 2: Mixing the Ezekiel Bread Ingredients
While the yeast is blooming, whisk together your dry ingredients in a separate bowl. This includes your sprouted wheat, spelt, barley, millet, and legume flours, plus the vital wheat gluten and salt.
Why do we mix dry first?* This ensures the vital wheat gluten is evenly distributed. If you dump it directly into the water, it can clump up and create rubbery pockets in the bread.
Phase 3: The Knead
Add the oil to the yeast mixture, then set your mixer to low speed with the dough hook attached. Gradually add the dry flour mixture about a half-cup at a time.
Once all the flour is incorporated, increase the speed to medium-low. Knead for 8–10 minutes.
Sensory Check:* The dough will be tacky (sticky to the touch) but should pull away cleanly from the sides of the bowl. If it looks like cake batter, add a tablespoon of sprouted wheat flour. If it’s a hard ball, add a teaspoon of water.
Phase 4: The First Rise
Lightly grease a large bowl. Shape the dough into a ball and place it in the bowl, turning it once to coat it in oil. Cover with a damp kitchen towel or plastic wrap.
Place in a warm, draft-free spot. Let it rise for 60 to 90 minutes, or until it has doubled in size.
Chef’s Tip:* I like to preheat my oven for 1 minute, turn it off, and then place the bowl inside. It creates the perfect proofing box environment.
Phase 5: Shaping and Baking
Punch the dough down gently to release air bubbles. Turn it out onto a lightly floured surface. Shape it into a loaf by flattening it into a rectangle and rolling it up tightly, tucking the ends under.
Place into a greased 9×5 inch loaf pan. Cover and let it rise again for about 30–45 minutes until it crowns about an inch over the rim of the pan.
Preheat your oven to 350°F (175°C). Bake for 35–40 minutes. The loaf should sound hollow when you tap the bottom, or register 190°F on an internal thermometer.
Expert Tips for Perfect Results
I have made plenty of mistakes with this recipe for ezekiel bread with sprouted grains so you don’t have to. Here are my top tips for success:
1. Don’t Rush the Cool Down: This is the hardest part. When the bread comes out of the oven, it smells intoxicating. But if you slice it while it’s hot, the steam escapes too fast, and the starch retrogradation process is interrupted. The result? Gummy, sticky dough. Let it cool completely on a wire rack for at least 2 hours.
2. Weigh Your Flours: Sprouted flours can be dense. If you scoop with a measuring cup, you might pack too much flour in, leading to a dry loaf. Using a kitchen scale is the best way to execute this ezekiel bread recipe.
3. The Windowpane Test: Because sprouted grains have been partially broken down, the gluten is fragile. When kneading, check for the “windowpane”—you should be able to stretch a small piece of dough thin enough to see light through it without it tearing. If it tears immediately, keep kneading.
4. Sourcing Ingredients: Finding the specific ezekiel bread ingredients can be a scavenger hunt. I recommend looking for a “Sprouted 7-Grain Flour” blend if you don’t want to buy six different bags of flour.
Storage & Reheating
Because this ezekial bread recipe (a common spelling, though incorrect!) contains no preservatives, it behaves differently than store-bought bread.
- Room Temperature: It will stay fresh in a bread box or sealed bag for 2–3 days. After that, it risks molding quickly due to the moisture content.
- Freezing: This is my preferred method. Slice the entire loaf once cooled, place parchment paper between slices, and freeze in a heavy-duty freezer bag. It lasts for up to 3 months.
- Reheating: Do not microwave this bread; it will become chewy and rubbery. The absolute best way to eat it is toasted straight from the freezer. The heat brings out the nutty flavor of the barley and millet.
Serving Suggestions
This bread is incredibly hearty, so it pairs well with robust toppings. It’s not the kind of bread you use for a delicate cucumber sandwich; it wants substance.
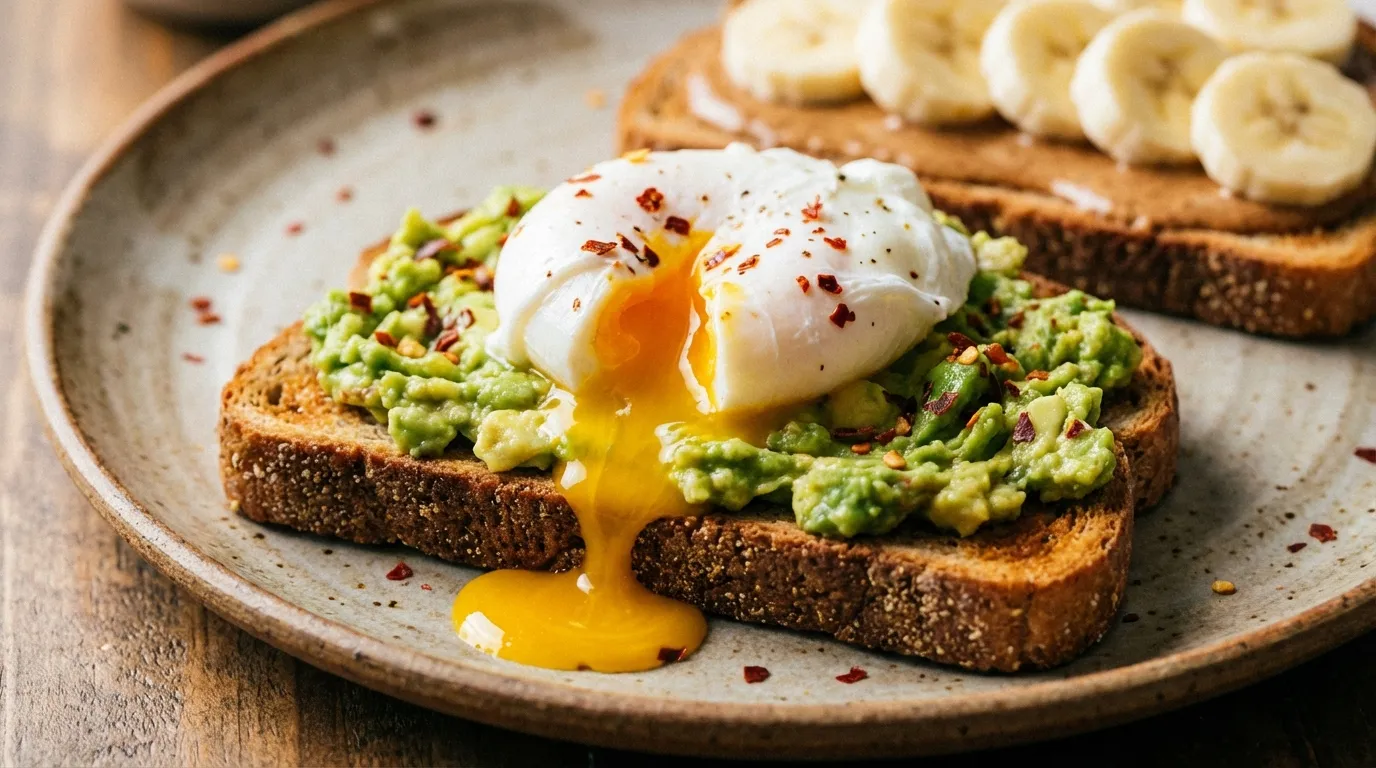
- The Classic: Toasted with grass-fed butter and a sprinkle of sea salt.
- The Power Breakfast: Smashed avocado, red pepper flakes, and a poached egg.
- Sweet Treat: Almond butter, sliced bananas, and a drizzle of raw honey.
If you enjoy baking nutritious loaves like this, you should definitely check out my other healthy baking recipes for more inspiration on using whole grains and natural sweeteners.
Conclusion
Mastering this ezekiel bread recipe is a milestone for any home baker. It takes a historic, nutrient-dense concept and turns it into a modern kitchen staple that your family will actually ask for. The texture is satisfyingly chewy, the flavor is complex and earthy, and the health benefits are undeniable.
I hope you give this recipe for ezekiel bread a try this weekend. There is something deeply satisfying about pulling a loaf out of the oven that you know is packed with life-giving ingredients.
Did you make this? I’d love to see your results! Leave a comment below and let me know how it turned out.
Common Questions About Ezekiel Bread Recipe
Can I make this in a bread machine?
Yes, you can adapt this how to make ezekiel bread guide for a machine. Add liquids first, then dry ingredients, and use the “Whole Wheat” or “Gluten-Free” setting (depending on your machine’s knead times—sprouted grains prefer a slightly shorter knead than raw whole wheat). However, oven baking usually yields a better crust.
Is this recipe gluten-free?
No. Even though sprouting reduces gluten content, the primary ingredients are wheat, barley, and spelt, which all contain gluten. Furthermore, we add vital wheat gluten to this recipe for ezekiel bread with sprouted grains to ensure it rises. It is not suitable for Celiacs.
Why is my bread dense?
Density usually comes from two things: old yeast or not enough kneading. Because the ezekiel bread ingredients are heavy, the yeast needs to be very active to lift them. Also, ensure you didn’t add too much flour during the kneading process.
Can I sprout my own grains instead of using flour?
Absolutely. You can soak wheat berries, spelt, barley, and lentils until they sprout tails, dehydrate them, and then mill them into flour. It is a long process (2–3 days), but it makes for the freshest ezekiel bread recipe possible.
What does the Wikipedia link for Sprouted Bread say about nutrition?
Recipe for ezekiel bread with sprouted grains relies on the science of germination. According to research, sprouting increases the bioavailability of nutrients like zinc and iron and reduces antinutrients like phytates, making the bread easier to digest than unsprouted grain bread.