Rustic & Crispy Sourdough Bread Machine Recipe
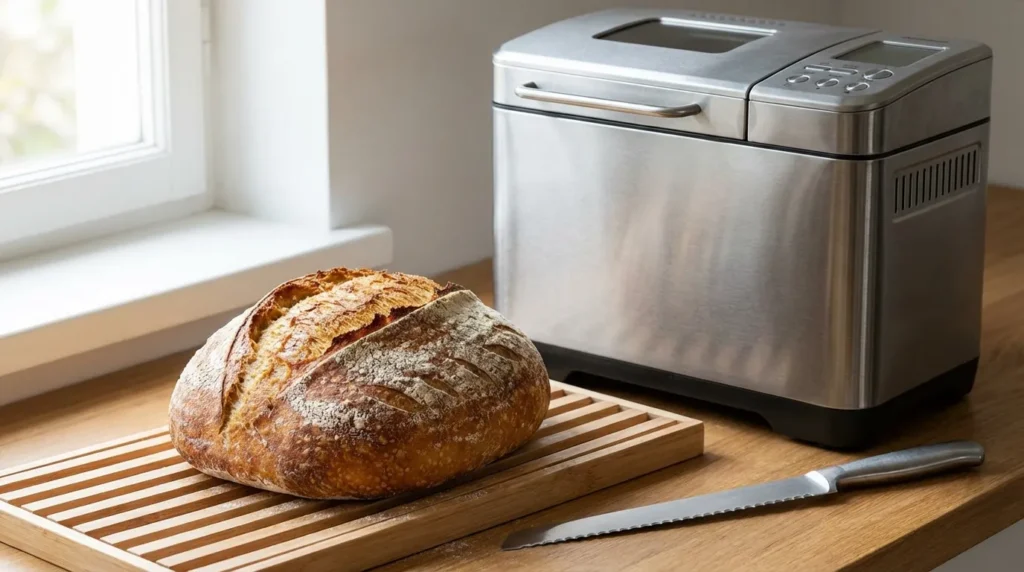
Equipment
- Bread Machine
- Kitchen Scale
- Wire Cooling Rack
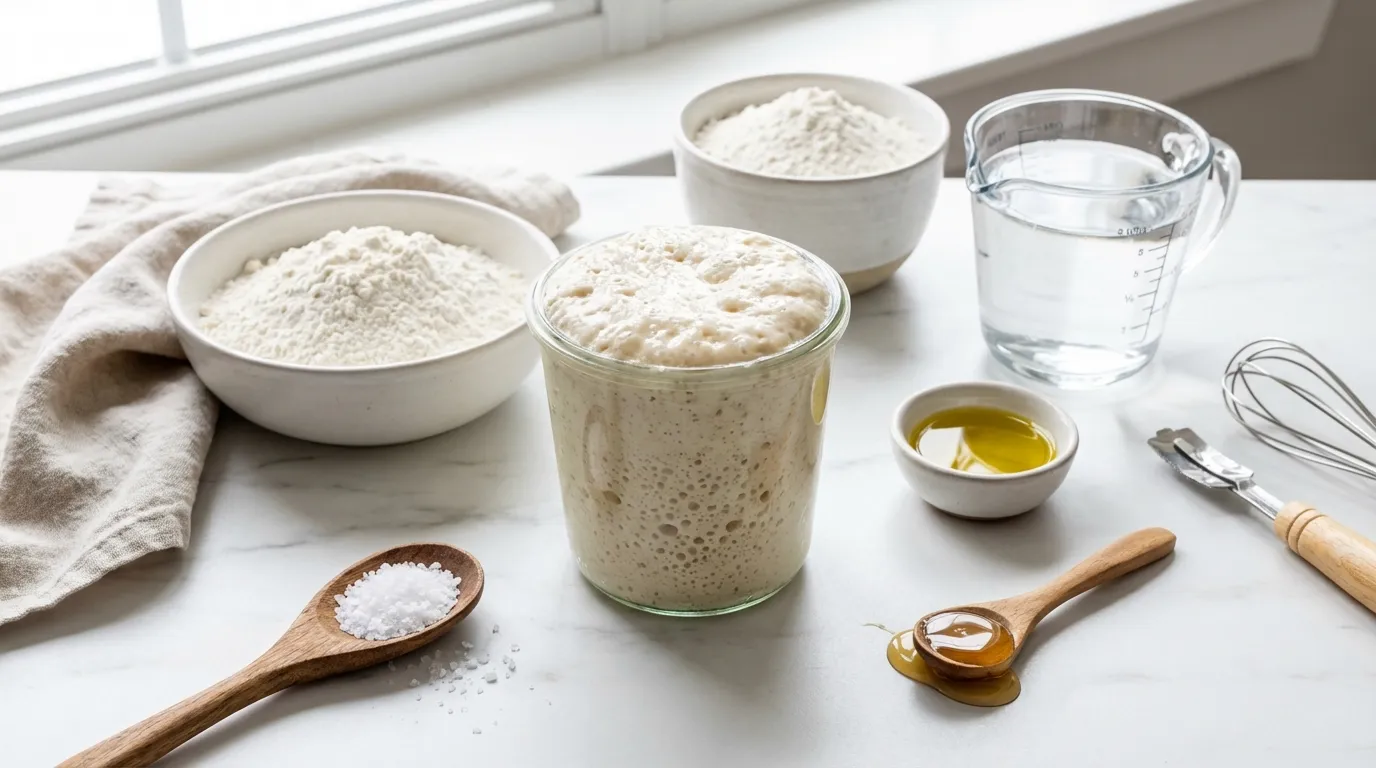
Ingredients
The Liquids
- 0.75 cup water filtered, room temperature (~175ml)
- 1 tbsp oil olive oil or melted butter
- 1 cup active sourdough starter fed 4-8 hours prior (~220g)
The Dry Ingredients
- 3 cups bread flour (~360g)
- 1 tbsp sugar or honey (optional)
- 1.5 tsp fine sea salt
Instructions
- Phase 1: The Setup
Pour the room-temperature water, oil, and your active sourdough starter into the bread pan. - Gently spoon the bread flour on top of the liquid layer. You want the flour to float on top.
- Make a small indentation in the flour for the sugar (if using). Place the salt in a corner of the pan on top of the flour. Tip: Do not let salt touch the wet starter.
- Phase 2: The Cycle Selection
Select the “Artisan” or “Sourdough” setting if available. If not, use the standard “White Bread” or “Basic” cycle. - Set the Crust Color to “Dark” and the Loaf Size to 1.5 lb or 2 lb.
- Optional Expert Step: For a more sour flavor, run the “Dough” cycle first, turn off the machine for 2-3 hours, then select “Bake Only”.
- Phase 3: The Check and Bake
About 5–10 minutes into the kneading, check the dough. It should be a tacky ball. If too wet, add 1 tbsp flour; if dry, add 1 tsp water. - Optional: Remove the paddle before the final rise to avoid a hole in the bottom of the loaf.
- Once baked, remove immediately to a wire rack. Wait at least 60 minutes before slicing to prevent gumminess.
Notes
Starter Tip: Ensure your starter is bubbly and active, not cold discard.
Measurements: Weighing ingredients (grams) is highly recommended for accuracy.
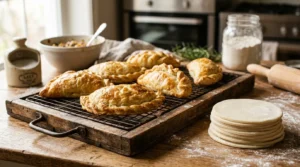
There is nothing quite like the sound of a serrated knife crunching through a blistered, golden crust, revealing a soft, airy crumb inside. The tangy aroma of fermented dough filling the kitchen is usually the reward for days of folding, resting, and shaping. But let’s be honest: life gets busy. That is exactly why I developed this sourdough bread machine recipe. It delivers that authentic, bakery-style tang and chewiness without the endless hours of babysitting dough on your counter.
I remember the first time I tried to hack my bread maker to handle wild yeast. I was skeptical. Could a machine really replicate the artisan touch? After several dense failures and a lot of tweaking hydration ratios, I finally cracked the code. This isn’t just a loaf of bread; it’s a daily staple in my home. It’s the perfect compromise for the modern home cook who craves slow-food flavor but needs fast-food convenience. If you have a bubbling starter and a machine gathering dust, you are about to make the best toast of your life.
Why You’ll Love This Sourdough Bread Machine Recipe
This isn’t just another dump-and-go loaf; it is a carefully balanced method designed to leverage the heat and timing of your machine. Here is why this sourdough bread machine recipe works so well:
- Authentic Fermentation: Unlike rapid-rise loaves, this recipe utilizes a longer cycle (or a custom delay) to allow the wild yeast to actually develop flavor and structure.
- No Kneading Required: The machine handles the sticky, messy part of the process. You keep your hands clean while the paddle does the heavy lifting.
- Perfect Hydration: Sourdough can be tricky to handle by hand because it is often wet. The bread pan contains the dough perfectly, allowing for higher hydration which results in a more open crumb.
- Consistent Results: By controlling the temperature within the unit, this sourdough bread machine recipe eliminates the variables of a drafty kitchen, ensuring a perfect rise every time.
Ingredients & Substitutions
To get that professional quality, the ingredients you choose matter just as much as the machine settings. Here is what you need for this bread machine sourdough bread recipe:
- Active Sourdough Starter (1 cup / ~220g): This is the heart of the bread. Your starter should be fed 4–8 hours before baking. It needs to be bubbly, active, and at its peak. Do not use cold discard from the fridge, or the bread will be dense.
- Bread Flour (3 cups / ~360g): Do not swap this for All-Purpose flour if you can help it. Bread flour has a higher protein content (usually 12-14%), which creates the strong gluten network needed to trap the gas produced by the wild yeast. This is vital for a good rise in a sourdough bread machine recipe.
- Water (3/4 cup / ~175ml): Use filtered water at room temperature. Tap water often contains chlorine, which can inhibit or kill the natural yeast in your starter.
- Salt (1.5 tsp): I use fine sea salt. Salt tightens the gluten structure and controls the fermentation rate. Without it, the dough would be a sticky mess and taste bland.
- Sugar or Honey (1 tbsp, optional): While traditional sourdough is just flour, water, and salt, adding a touch of sugar helps brown the crust and gives the wild yeast a little boost, which is helpful in the constrained timeline of a bread machine sourdough cycle.
- Oil (1 tbsp): Olive oil or melted butter keeps the crumb soft and helps the loaf stay fresh longer.
Dietary Substitutions:
- Whole Wheat: You can substitute up to 50% of the bread flour with whole wheat flour, but you may need to add an extra tablespoon of water as whole grain absorbs more liquid.
- Vegan: This recipe is naturally vegan if you use sugar or maple syrup instead of honey.
How to Make Sourdough Bread Machine Recipe
Follow these steps carefully. The order in which you add ingredients to the pan is crucial for the success of any sourdough bread in bread machine attempt.
Phase 1: The Setup
1. Liquids First: Pour the room-temperature water, oil, and your active sourdough starter into the bread pan.
2. Dry Ingredients: Gently spoon the bread flour on top of the liquid layer. You want the flour to float on top.
3. The Wells: Make a small indentation in the flour for the sugar (if using). Place the salt in a corner of the pan on top of the flour. Chef’s Tip: Never let the salt touch the wet starter directly before mixing starts, as concentrated salt can kill the yeast.
Phase 2: The Cycle Selection
1. Menu Setting: If your machine has a specific “Artisan” or “Sourdough” setting, use that. If not (which is common), use the standard “White Bread” or “Basic” cycle.
2. Crust Color: Set this to “Dark.” Sourdough benefits from a deep, caramelized crust to contrast the soft interior.
3. Loaf Size: Select the 1.5 lb or 2 lb setting to ensure the machine bakes it long enough.
Chef’s Tip: If you want a truly sour flavor, run the “Dough” cycle first. Once it finishes kneading, turn the machine off and let the dough sit inside the closed machine for 2–3 hours. Then, select the “Bake Only” cycle. This mimics the long fermentation of traditional methods.
Phase 3: The Check and Bake
1. The Windowpane Test: About 5–10 minutes into the kneading cycle, open the lid. The dough should form a smooth, tacky ball that cleans the sides of the pan. If it looks like batter, add flour (1 tbsp at a time). If it’s crumbling and dry, add water (1 tsp at a time).
2. Paddle Removal (Optional): If you hate the hole in the bottom of your bread, listen for the “remove paddle” beep (or do it right before the final rise). With wet hands, quickly lift the dough, remove the paddle, and reshape the dough into a smooth ball before dropping it back in.
3. Cooling: Once the machine beeps, remove the pan immediately using oven mitts. Turn the loaf out onto a wire rack.
Chef’s Tip: Do not slice into hot bread! I know it smells amazing, but the bread is still cooking inside. Cutting it too early releases the steam, resulting in a gummy, doughy texture. Wait at least 60 minutes.
Expert Tips for Perfect Results
Making a sourdough bread machine recipe is partly science and partly intuition. Here are a few advanced tips I’ve learned over the years:
- Weigh Your Ingredients: I cannot stress this enough. A “cup” of flour can vary by 30% depending on how you scoop it. Using a kitchen scale ensures your hydration ratios are perfect for this sourdough bread recipe for bread machine.
- Temperature Control: Sourdough yeast loves temperatures between 75°F and 80°F. If your kitchen is freezing cold in the winter, the machine’s basic cycle might not be long enough for the dough to rise. In this case, use the “Dough” cycle + delay method mentioned above.
- The Slash: Just before the baking cycle starts (after the final rise), quickly open the lid and slash the top of the dough with a razor or sharp knife. This allows the steam to escape and helps the bread expand (“oven spring”) without tearing continuously.
- Boost the Starter: If your starter is a bit sluggish, you can add 1/4 teaspoon of instant yeast to the recipe. It’s a “cheat,” but it guarantees a fluffy loaf while still maintaining the sourdough flavor profile.
Storage & Reheating
Because this sourdough bread machine recipe contains no preservatives, it won’t last as long as supermarket bread—but it tastes so much better that it rarely lasts 24 hours anyway!
- Room Temperature: Store the cooled loaf in a paper bag or a bread box for up to 2 days. This keeps the crust crispy. Storing it in a plastic bag will soften the crust immediately (which is fine if you prefer soft sandwich bread).
- Freezing: This bread freezes beautifully. Slice the entire loaf once cooled. Place parchment paper between slices and store them in a heavy-duty freezer bag.
- Reheating: To eat, simply pop a frozen slice directly into the toaster. It will come out tasting freshly baked. If you have a whole loaf that has gone slightly stale, run it under the tap quickly (yes, wet the crust!) and bake at 350°F for 5–10 minutes. It will be good as new.
Serving Suggestions
This bread is robust enough to handle heavy toppings and flavorful enough to stand on its own.
- The Classic: Thick slices toasted with salted butter and a drizzle of honey.
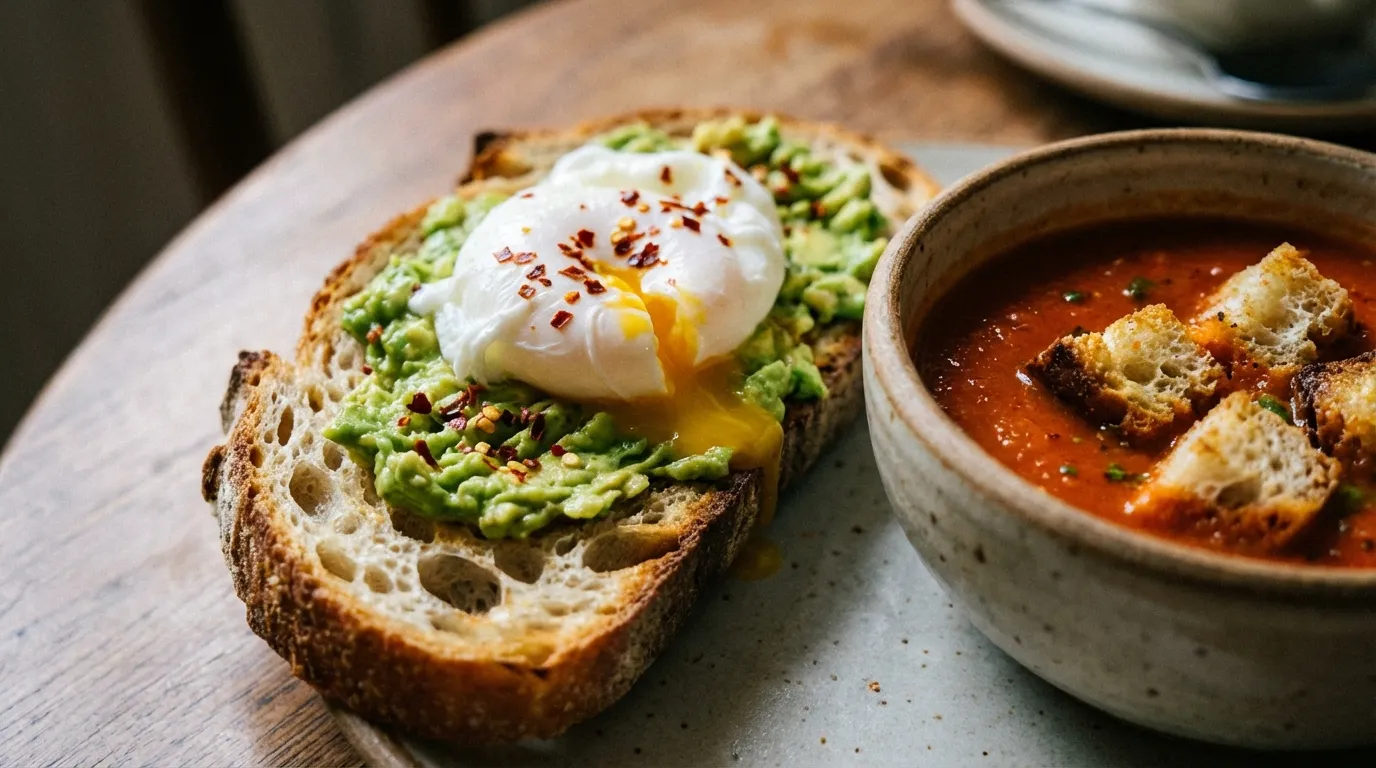
- Savory Breakfast: Avocado toast with poached eggs and chili flakes. The tang of the sourdough cuts through the richness of the egg yolk perfectly.
- Soup Companion: Serve chunky cubes of this bread with a hearty tomato basil soup or a beef stew.
- Healthy Alternative: If you are looking for a different kind of healthy loaf to add to your rotation, you might enjoy the nutritional benefits of an Ezekiel bread recipe, which pairs wonderfully with similar toppings.
Conclusion
Mastering a sourdough bread machine recipe changes the way you look at home baking. It takes the intimidation factor out of wild yeast and fits seamlessly into a busy schedule. You get the gut-health benefits of fermentation and the joy of fresh bread, all with the push of a button.
Whether you are a seasoned baker looking for a break or a novice wanting to try your hand at bread machine recipes for sourdough, this method is your gateway to success. The result is a loaf that looks rustic, tastes complex, and feels like a warm hug.
Did you try this recipe? I’d love to hear how your loaf turned out! Leave a comment and a star rating below.
Common Questions About Sourdough Bread Machine Recipe
Can I use sourdough discard for this recipe?
It is not recommended to use old, unfed discard for this specific sourdough bread machine recipe if you want a light, airy loaf. Discard is acidic and has less rising power. However, if you add 1 teaspoon of instant yeast to the recipe, you can use discard for flavor while the commercial yeast handles the rising.
Why did my bread machine sourdough collapse?
If your sourdough in bread machine collapses in the middle, it usually means the dough over-proofed. This happens if the rising cycle was too long for the amount of starter used, or if there was too much liquid. Next time, try reducing the water by 1 tablespoon or checking the dough ball during the mix to ensure it isn’t too wet.
Can I make a gluten-free version?
Sourdough relies heavily on gluten for structure. While you can use a gluten-free starter and flour blend, bread machine sourdough recipes generally require specific binders like xanthan gum and different hydration ratios. Simply swapping the flour in this recipe will likely result in a brick.
Is the crust supposed to be hard?
Yes, a characteristic of a good bread machine sourdough bread recipe is a thicker, crispier crust compared to standard white bread. If you prefer a softer crust, select the “Light” crust setting on your machine and brush the top of the loaf with melted butter immediately after taking it out of the pan.
Can I leave this overnight?
You can, but be careful. If you use the delay timer on your machine, ensure your starter is freshly fed so it doesn’t peak and collapse before the machine even starts mixing. For overnight bakes, I suggest using a slightly stiffer starter (less water) so it ferments slower.